Taylored Expressions' "Pick Your Pairings" Release – Craft a Stunning "Thinking of You" Card with the NEW "Signature Sentiments" Die, Stenciling, and Ink Blending

As cardmakers, we’ve become skilled at improvising when we lack the specific products needed to bring our design ideas to life. Since not everyone works for these companies or is part of their design teams, our input often goes unnoticed. However, Taylored Expressions is a company that has completely changed that perception!

Introducing the "Pick Your Pairings" release from Taylored Expressions! A few months ago, the company announced this special release and provided a link where fans could share their ideas directly with the company and design team. The guidelines were straightforward: the new item had to complement something already in their product line, and the design team had to be enthusiastic about producing it. Plus, the first person to suggest each selected idea would be the lucky recipient of that product, sent in the mail to create with and share on the release day.
I’m thrilled to share that one of the ideas I submitted was chosen by the design team for production! After seeing the sneak peeks of the release, I’m incredibly impressed with the creativity and ideas we, as fans, contributed!

A few years ago, TE released the "Signature Sentiments" stamp set, featuring a range of sentiments in a beautiful scripty font. I’ve used this set countless times and often thought how great it would be if it had a coordinating die. Having a die would be perfect for my elaborate backgrounds, allowing me to integrate the sentiment into the card without obscuring all the effort I put into the design. Without further ado... introducing the Signature Sentiments coordinating die set!


For my card, I used the Full of Flowers coordinating stamp and stencil set from Taylored Expressions to create a heartfelt "thinking of you" card. With Fall approaching, I decided to highlight the season with a palette of beautiful fall colors, including purple, orange, gold/copper, and cream.

I started this card by stamping the Full of Flowers stamp set onto Buttercream Frosting cardstock from Taylored Expressions with Wow! Slow Drying Embossing Ink. This ink is perfect for keeping the surface wet enough for the embossing powder to adhere. I used an older copper-toned embossing powder from Sparkle 'N Sprinkle, which is unfortunately no longer in business. After stamping and heat embossing the background, I used the coordinating stencils to blend ink onto the flowers and leaves of the stamped image.


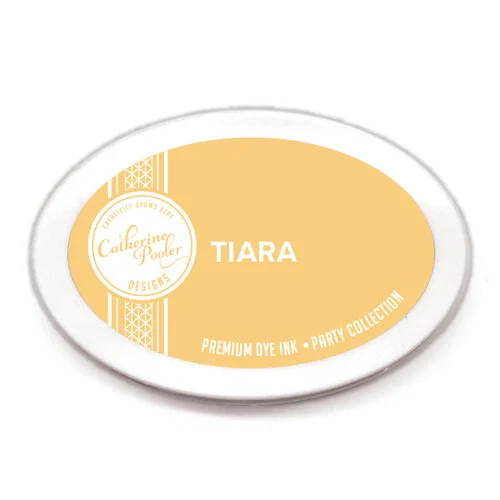
I started with the first stencil (the leaves), securing the cardstock and stencil to my magnetic glass board from Taylored Expressions with teal tape (also from TE). Using TE blender brushes, I applied Catherine Pooler Tiara Ink across the leaves. Next, I used a smaller blending brush to add CP Tiki Torch ink to the tips of the leaves, creating a gradient effect reminiscent of fall foliage.

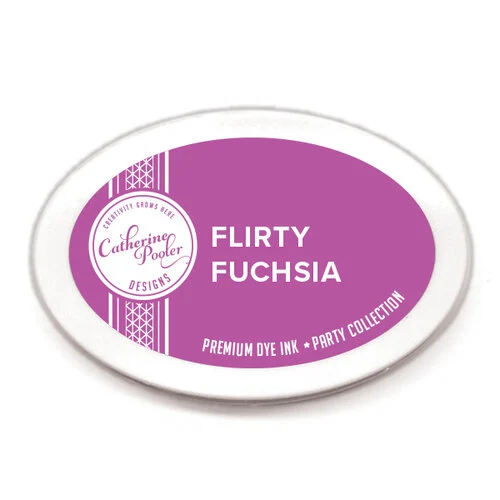
Next, I removed the first stencil and positioned the second stencil (the flowers), securing it in place. I used CP Flirty Fuchsia ink on the flowers and added shading details to the centers with CP Glam ink using a smaller blending brush. I enjoy incorporating multiple ink colors in my blending to add depth and a bit of realism.


Once my ink-blended panel was complete, I added some splatter using Brutus Monroe Gilded Pigment ink and Dr. Ph Martin's Bleed Proof White ink. I love how splattering gives a card an artistic touch. I then used a rounded rectangle die to trim the panel to size and a scalloped rectangle die to cut some matte gold cardstock for a background. I elevated the ink-blended panel with foam tape and placed it on Plum Punch Cardstock from Taylored Expressions, which I had previously cut with a stitched rectangle die.
For the sentiment, I stamped "Thinking of you" from the TE Signature Sentiments set onto TE Buttercream Frosting cardstock using embossing ink. I used the same copper embossing powder as I did for the flowers and heat embossed it. After the embossed sentiment cooled, I cut it out with the NEW coordinating dies. To add dimension without foam tape, I die cut four more pieces from the same cardstock and stacked them together. To make the sentiment stand out, I also die cut a piece from TE Plum Punch cardstock to create a shadow effect behind the sentiment. I adhered the layers with liquid glue and placed the sentiment in an open area of the panel, ensuring it didn’t cover the lovely flowers.
Finally, I attached the whole piece to an A2 card base made from Taylored Expressions Buttercream Frosting cardstock and added a few yellow/orange gems from my stash for a touch of elegance. And that completed my card!
What’s your favorite technique for capturing the essence of fall in your card designs, especially when it comes to the coloring leaves? Comment and share it below!
Thanks for stopping by! Happy crafting :)

Going to do some crafty shopping?
Consider using my affiliate links to help support my blog at no extra cost to you!
Use my REFERRAL LINK at Taylored Expressions to get $10 OFF YOUR FIRST ORDER


Commentaires