Enjoy the Journey – Faux Bleaching for Enchanting Hummingbird & Fairy Wings | Featuring Lavinia Stamps
- Pam
- Feb 26
- 3 min read
Updated: Mar 14
Get ready to take flight into a world of magic and color! Today, I’m sharing a stunning handmade card featuring Lavinia Stamps and a dreamy ink-blended background. This enchanting design brings together a hummingbird, fairies, and shimmering details for a card that truly sparks the imagination. Let’s dive into the process!

This card features a vibrant distress oxide ink-blended background with heat-embossed Lavinia Stamps images, a faux bleach technique to highlight the wings, and layered textures that create depth and movement. A bold sentiment ties it all together, making this the perfect card to inspire someone’s journey.
Supplies Used
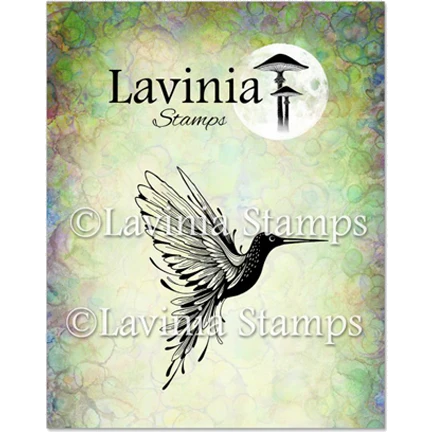
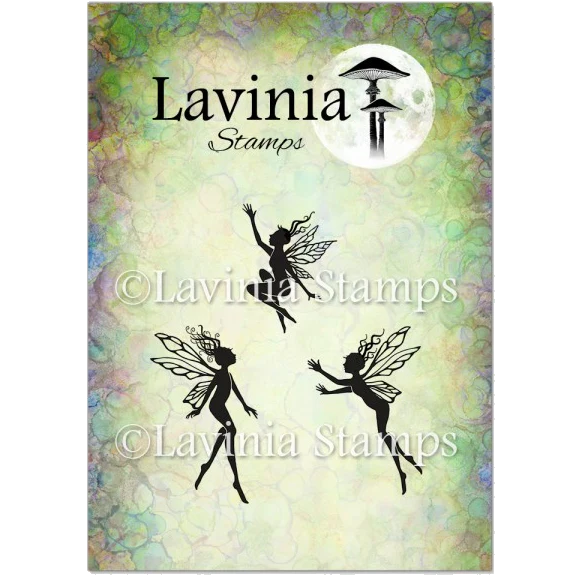
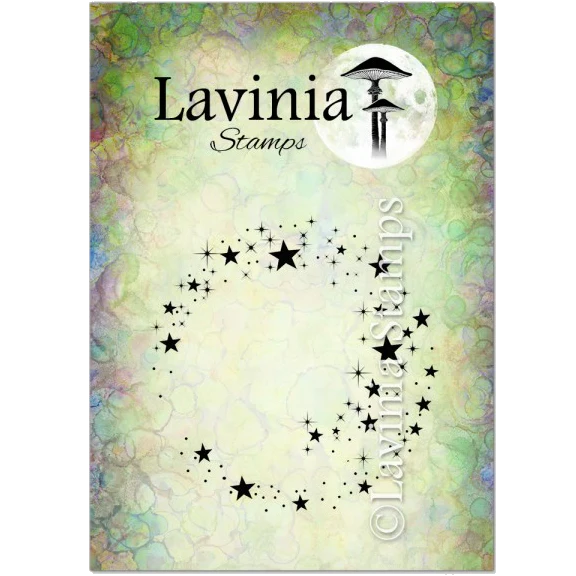
Lavinia Stamps – Hummingbird (Small), Three Dancing Fairies, Star Cluster, and Crystal Signs Stamps
Lavinia Stamps Multifarious Card
Masking Paper
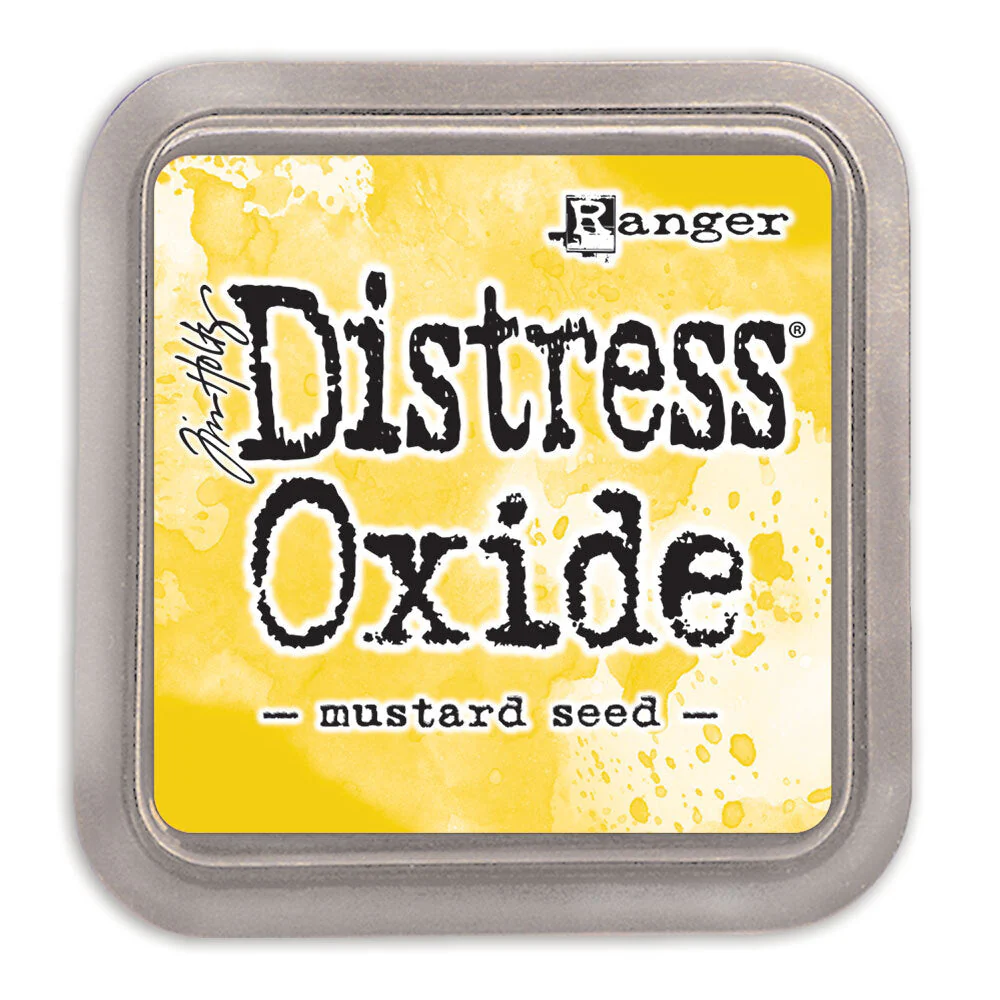
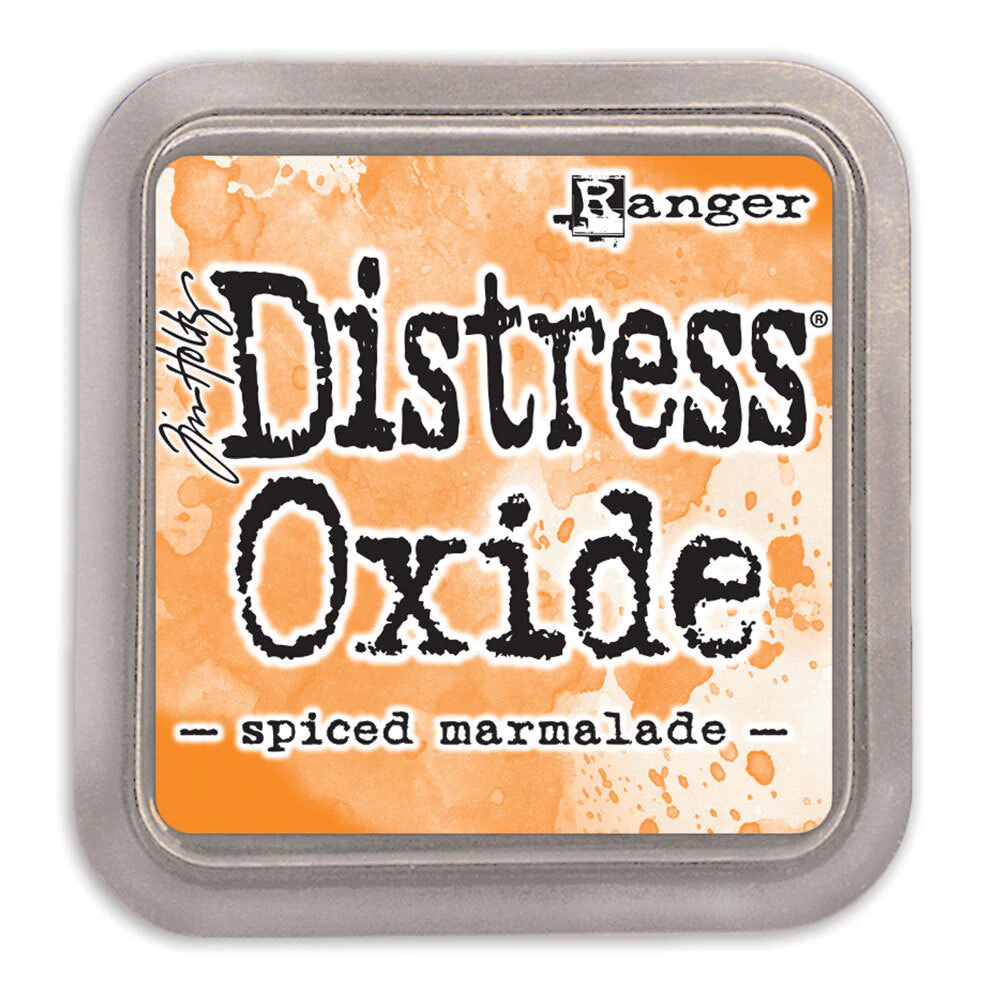
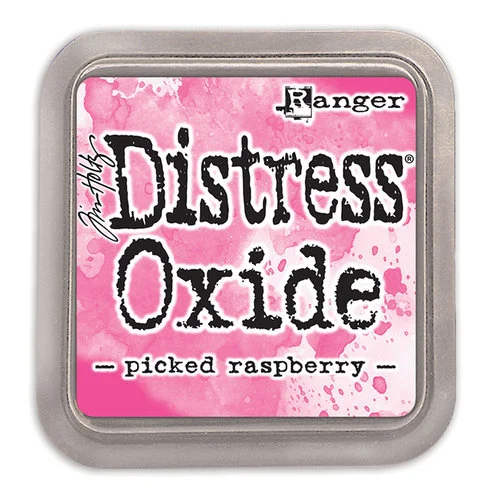
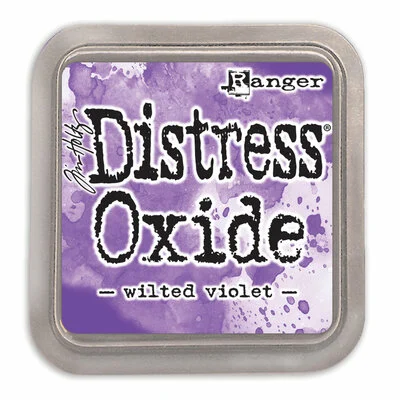
Distress Oxide Inks – Mustard Seed, Spiced Marmalade, Picked Raspberry, Wilted Violet
Versafine Clair Nocturne and Warm Breeze Inks
Clear Embossing Ink
Clear and White Embossing Powders
Simon Says Stamp Wonky Stitched Rectangle Dies (largest size)
Foam Strips
White & Black Acrylic Paint for Splatter
Wink of Stella Clear Glitter Brush
Sequins (optional)
Step-by-Step Process
Die Cutting & Ink Blending
Cut a cardstock panel from Lavinia Stamps' Multifarious Card using a wonky stitched rectangle die (measuring 4" x 5.25").
Blend Ranger Distress Oxide Inks in Mustard Seed, Spiced Marmalade, Picked Raspberry, and Wilted Violet for a rich sunset effect.
Stamping & Heat Embossing
Stamp the Lavinia Stamps' Hummingbird (Small) and two of the Three Dancing Fairies using Versafine Clair Nocturne Ink, then heat emboss with Clear Embossing Powder for a bold, glossy look.
Stamp the Star Cluster in Clear Embossing Ink and heat emboss with White Embossing Powder for a celestial effect.
Faux Bleach Effect
Use a damp paintbrush and paper towel to lift color from the hummingbird and fairy wings, creating a subtle highlight.

Adding Depth & Texture
Randomly stamp text in the background from the Crystal Signs Stamp Set using Versafine Clair Warm Breeze Ink for added dimension.
Splatter the panel with White and Black watercolor/acrylic paint for a dynamic, starry feel.

Finishing Touches
Deactivate the sticky backing on the Journaling Sticker Sentiment, then pop it up with foam strips for dimension.
Adhere the finished panel onto a top-folding black A2 card base (4.25" x 8 1/2" scored at 5.5" on the 8.5" side).
Add Clear Wink of Stella to the hummingbird and fairy wings and embellish with clear sequins for extra sparkle.

Watch the Tutorial
Want to see this card come to life step by step? Check out my YouTube video tutorial where I walk you through the entire process! Click here to watch and get inspired to create your own magical hummingbird & fairy card.
This card was such a joy to create! Lavinia Stamps’ intricate designs lend themselves beautifully to dreamy, whimsical scenes, and the ink blending makes everything pop. I love how the splatter and faux bleach effect bring the design to life! Have you tried any of these techniques before? Let me know in the comments!

If you love this design, be sure to check out my latest projects on my blog and social media. Want to learn more techniques like this? Sign up for my newsletter to stay updated on upcoming tutorials and classes!
As always, thanks for stopping by! Happy crafting :)

Going to do some crafty shopping?
Consider using my affiliate links to help support my blog at no extra cost to you!
Use my REFERRAL LINK at Taylored Expressions to get $10 OFF YOUR FIRST ORDER


