Celebrating Grandparents’ Day with a Starry, Sentimental Card | Featuring Photoplay

As a cardmaker, I’m always on the lookout for special occasions to create and send a card, knowing how much it can brighten someone’s day. At the end of each year, I like to prepare my planner for the upcoming year, marking all the holidays—including lesser-known ones like Grandparents’ Day, which falls on Sunday, September 8th this year—with stickers from Etsy.

My baby girl’s name is Stella, which means "star," and I thought it would be meaningful to create a card for her grandparents that incorporated stars. While browsing through my Color My Life app, I found a stamp set I hadn’t used yet, purchased at the Stamp & Scrapbook Expo last year. The "Catch a Falling Star" stamp set by Photoplay (retired) was perfect for this project, featuring adorable mice holding stars. One of the sentiments in the set reads, “love you more than all of the,” with “stars” separately in a fun script font, which I knew would be the perfect finishing touch.

I chose an image of a mouse catching stars with a net, which symbolized that even if Stella could catch every star in the sky, she’d still love her grandparents more. To tie it all together for Grandparents’ Day, I planned to write a personal message inside the card.
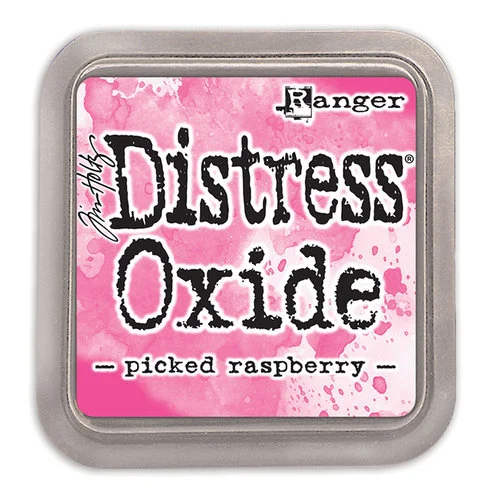
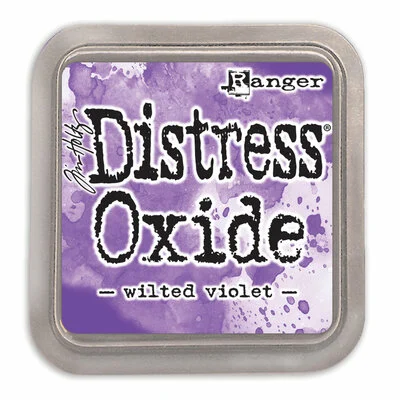
To start, I prepared a piece of Bristol Smooth cardstock, cut to 4.25” x 5.5.” I selected this cardstock because its smooth surface allows Distress Oxide Inks to blend beautifully, which is crucial for creating a galaxy background. I could have also used Ranger Heavystock Cardstock. For the galaxy, I chose Distress Oxide Inks in Picked Raspberry, Mermaid Lagoon, Wilted Violet, Chipped Sapphire, and Black Soot. I began by applying pink in one corner, purple in another, and light blue in the remaining space, blending each color where they met. After covering the panel, I layered on dark blue and then black ink, creating a deep night sky with hints of color shining through. Galaxy backgrounds are one of my favorite techniques!


To add texture, I splattered water onto the panel using a wet paintbrush. After blotting the ink with a paper towel, the water droplets lifted some of the color, creating a bokeh effect, reminiscent of distant stars. I then added some bright stars by splattering Dr. Ph Martin’s Bleed Proof White Ink mixed with water across the panel. Finally, I gave the panel a light shimmer by spraying Tsukineko Sparkle Shimmer Spray and passing the cardstock through it—the photos don’t do the sparkle justice!

With the background complete, I moved on to the focal images. I used 80# Neenah Solar White Cardstock, ideal for COPIC coloring, and stamped the chosen mouse and three sets of stars using Lawn Fawn’s Jet Black Ink, which works perfectly with COPIC markers. I colored the mouse with warm grays, his overalls in blue, the stars in yellow/orange, and the bucket in cool grays. I added some pink details to his ears and cheeks and used a White Gelly Roll Pen for highlights.

After coloring, I die cut the images and then die cut two more shapes for each colored image from white cardstock. Instead of using foam tape, I adhered these extra layers to the back of the colored images, which provided more stability for the delicate parts like the mouse’s tail and the net’s handle.
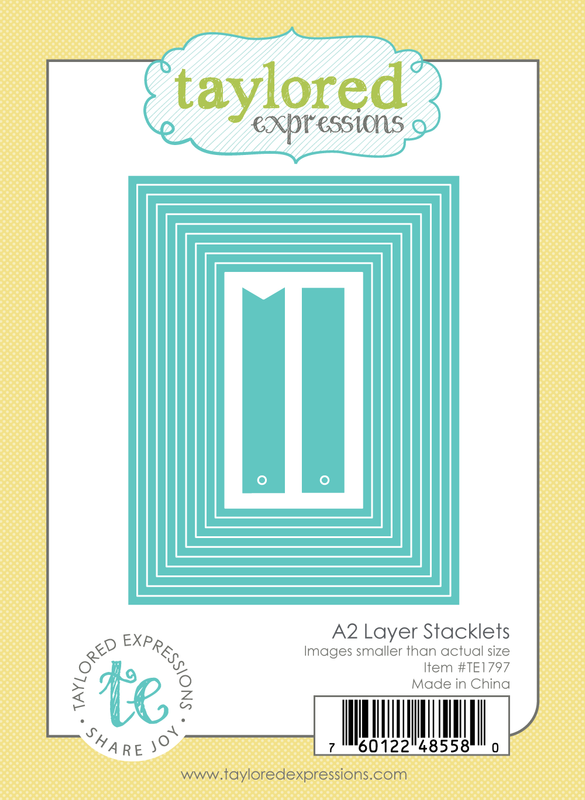
For the card layout, I used a rectangle die from Taylored Expressions' A2 Layer Stacklets Die Set to cut out the galaxy panel. I then created a purple scalloped and stitched frame using the WPlus9 Sunshine Layers Die Set (retired) from Taylored Expressions' Eggplant Cardstock. Unsure at first about which color would pair well with the purple frame, I eventually chose Lemon Meringue Cardstock from Taylored Expressions to match the stars, which also complements the purple. I cut the yellow cardstock to 4.5” x 5.5” and adhered it to a 110# Neenah Solar White Top Folding Card Base. I then mounted the galaxy panel behind the purple frame and adhered the entire piece to the card base with TE Thin Foam Tape.

For the sentiment, I used the two stamps from the set, placing them on the background panel after doing a mock layout to find the best spot. I picked up the stamps with my Mini MISTI, treated the galaxy panel with a TE Powder Tool, and stamped the sentiment using Wow! Slow Drying Embossing Ink. After stamping multiple times, I applied TE White Fine Detail Embossing Powder, cleaned up any stray powder with a dry paintbrush, and heat set the sentiment.

Finally, I adhered the mouse and stars to the panel. I’m thrilled with how this card turned out, and I can’t wait to have Stella “sign” it and send it to her grandparents for Grandparents’ Day!
Do you have a go-to technique for creating galaxy backgrounds? Share your tips in the comments!
Thanks for stopping by! Happy crafting :)

Going to do some crafty shopping?
Consider using my affiliate links to help support my blog at no extra cost to you!
Use my REFERRAL LINK at Taylored Expressions to get $10 OFF YOUR FIRST ORDER


Comentarios