Card Making Basics: Adding Color - Alcohol Markers
Using alcohol ink markers is my favorite technique for adding color to images. The vibrancy and ability to blend the colors is what I enjoy most about them. I’m no expert on using them, as they can be challenging to use, but practice makes perfect when using alcohol ink markers.
Stamp or doodle an image onto alcohol-friendly cardstock.


2. Using an alcohol ink marker, add color to the image starting with the lightest shade.


3. Progressively add darker colors to create dimension.


4. Blend the various shades using lighter shade markers.


Here is another example of the steps repeated for the sentiment of the card.


For my card today, I used a new stamp set to me from Simon Says Stamp. I’m not that big of a cat fan, but I can admit when a stamp set has cute cats and this one did! I started off by sketching out my design onto some scrap paper, so I decided to use to use the tree stamp, the cat with lights to hang on the tree, and the sentiment “Merry Catmas”. I then placed my stamps onto a stamp platform and stamped them about 3 times to get the solid images that I wanted, then they were ready for my Copic coloring.
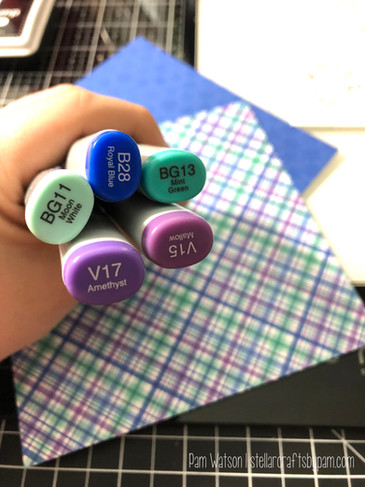
I had some patterned papers selected for my card, so I based my marker choices on those colors. I have a Copic swatch book that helps me to color match so I don’t have just look at the marker colors which can be deceiving. I definitely recommend having a swatch book for this reason and to inventory your Copic markers so you don’t buy multiples by accident!
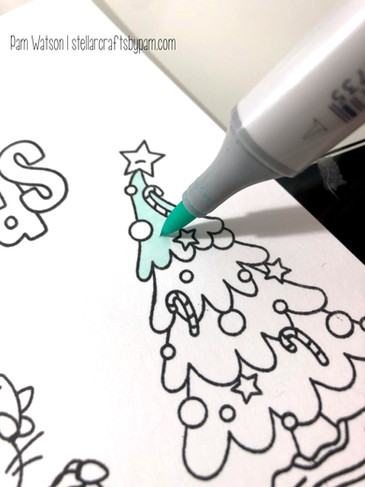
I first began coloring the tree with my lightest teal color. I filled the entire image with this color avoiding the ornaments, stars and candy cane. I then went in with my darker teal where there would be shadows on the tree. Lastly, I went back with my lighter teal to blend out the darker teal with the lighter teal to get a smoother transition appearance. When it came to the decorations on the tree, I just used one solid color because images that small are sometimes difficult to create shadows with and if done, it may or may not be seen.
I proceeded with the same steps for the “Merry Catmas” sentiment and used single colors on the cat since there was so much detail - it would be hard to create shadows. Once my coloring was done, I die cut the images using the matching dies and put my card together. I added some snow drifts at the bottom to give it a little more interest so the tree and cat weren’t just “floating” on the card. I also added some glitter accents that can’t really be seen in the image to several spots on the card to make it sparkly and add more interest, and then my card was done!

Now it's your turn to try! Comment below with your images and cards colored with alcohol markers! Download the PDF below!
Thanks for stopping by! Happy crafting :)
Pam
reference: Card to Canvas: Mixed-media techniques for paper crafts by Colleen Schaan.


Comments